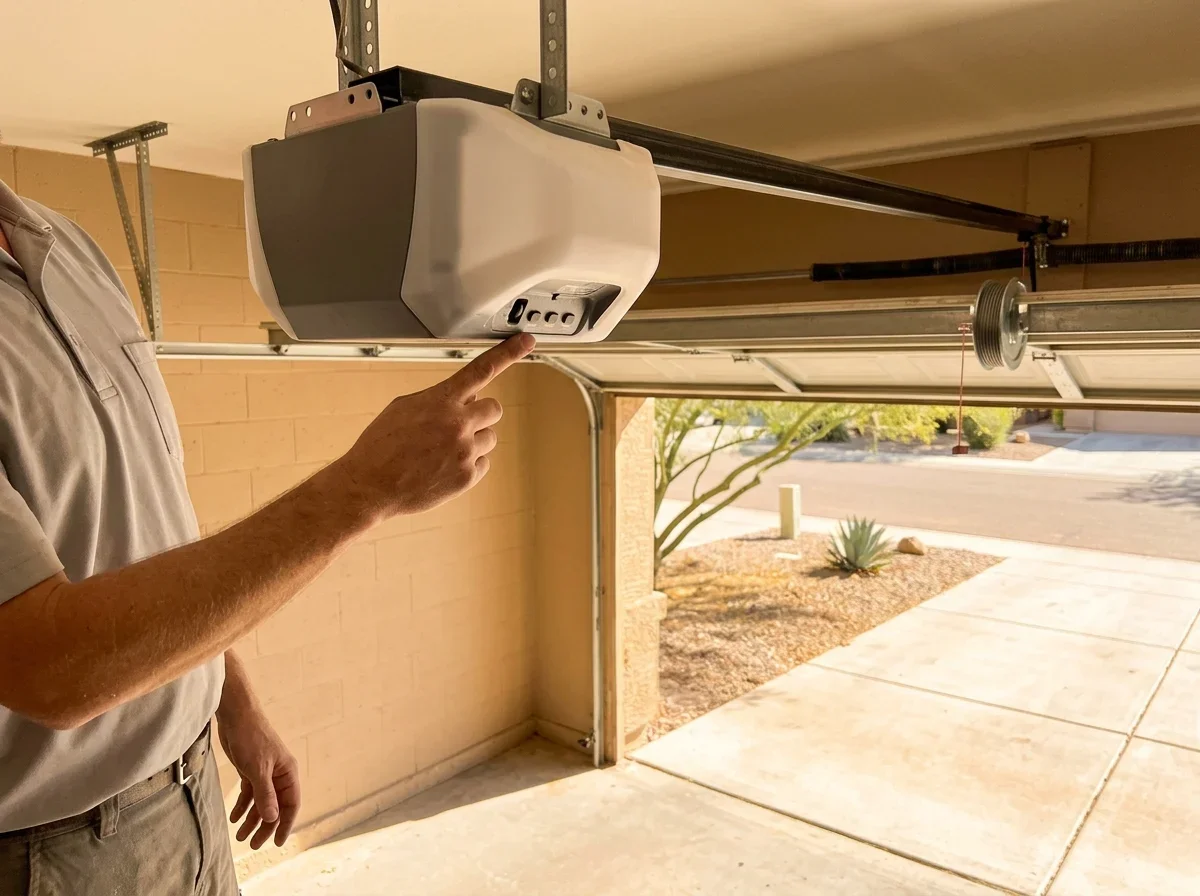
What to Know Before Programming a Garage Door Remote
Quick answer: press the learn button on the opener, then press the remote button within the time window in your manual.
A garage remote sends a radio signal, and the opener's receiver has to recognize it. Most current openers send a new code with every press (rolling code), so the opener must be taught each remote.[1]
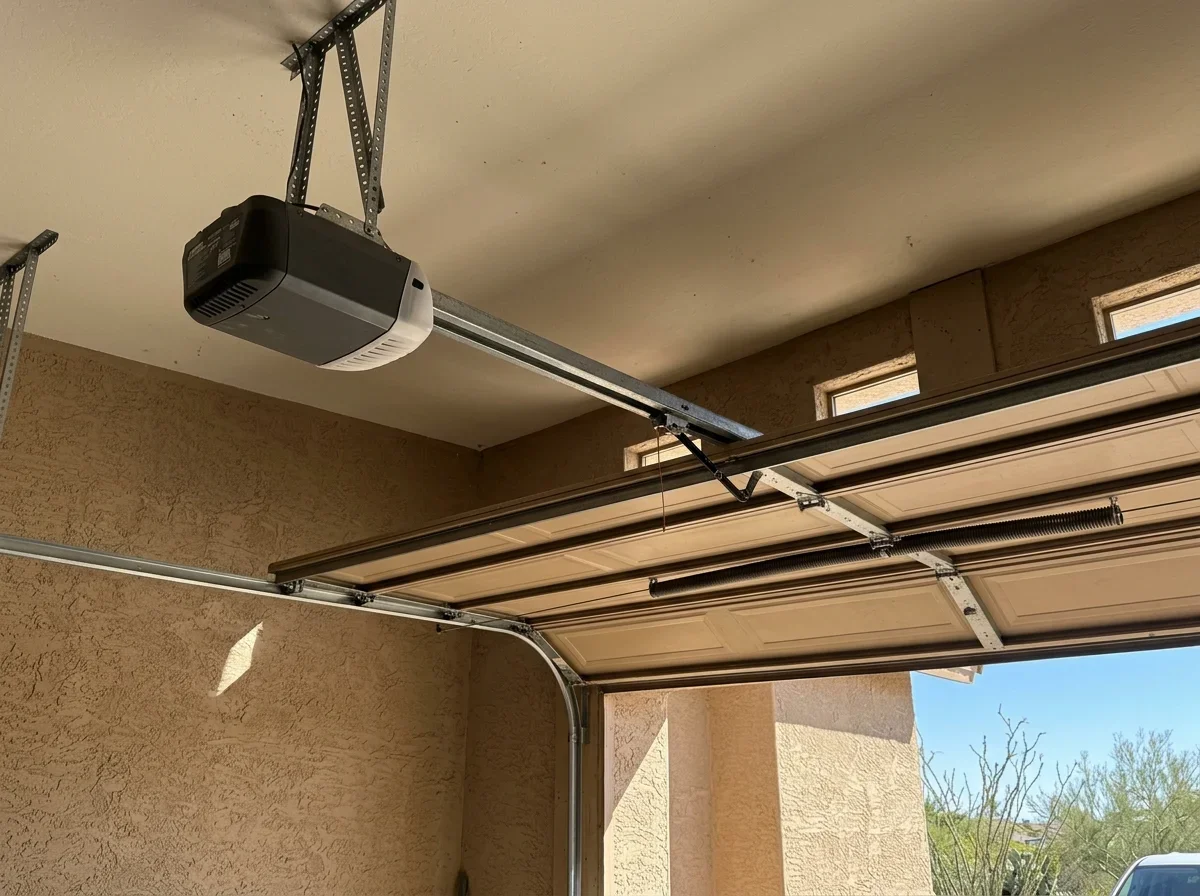
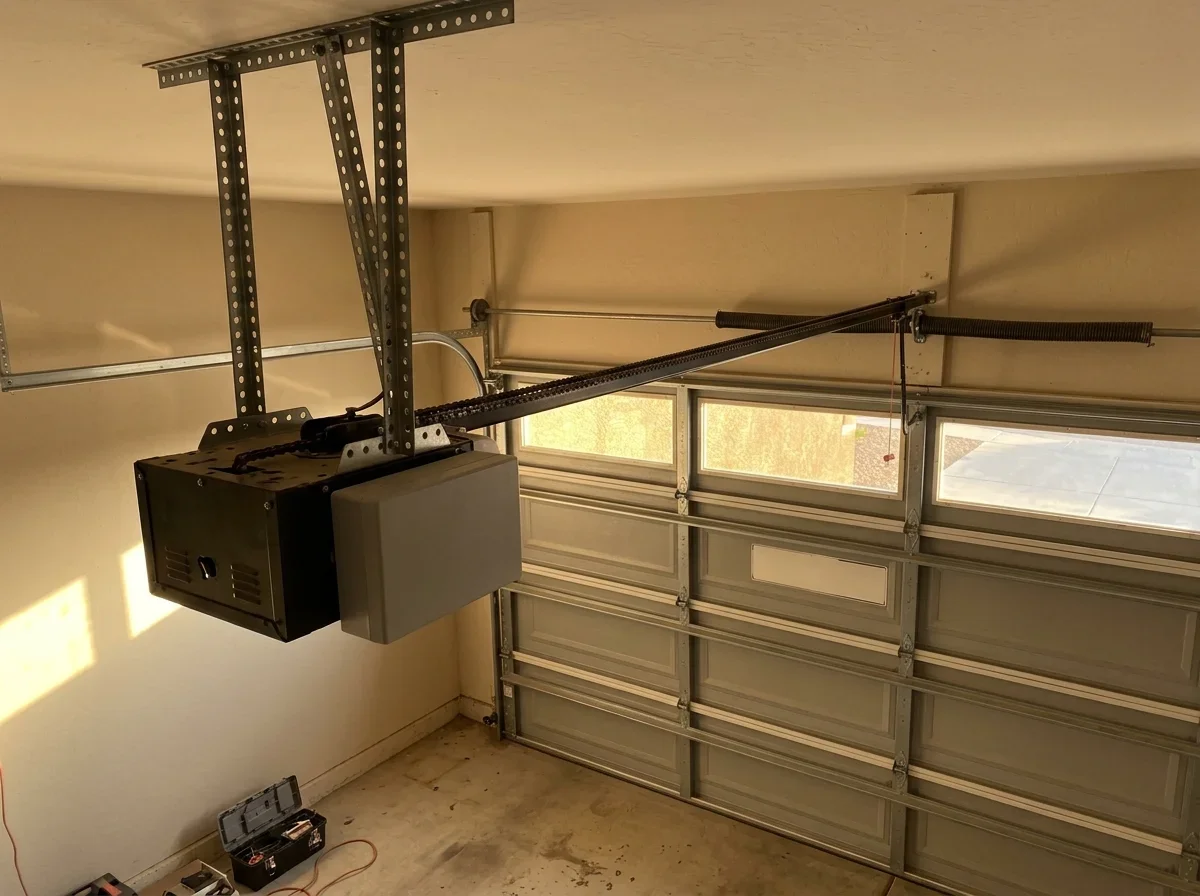
Gather the remote, a stable step ladder, and your phone. Photograph the label on the motor unit for the model number, and note the learn button's color or shape.
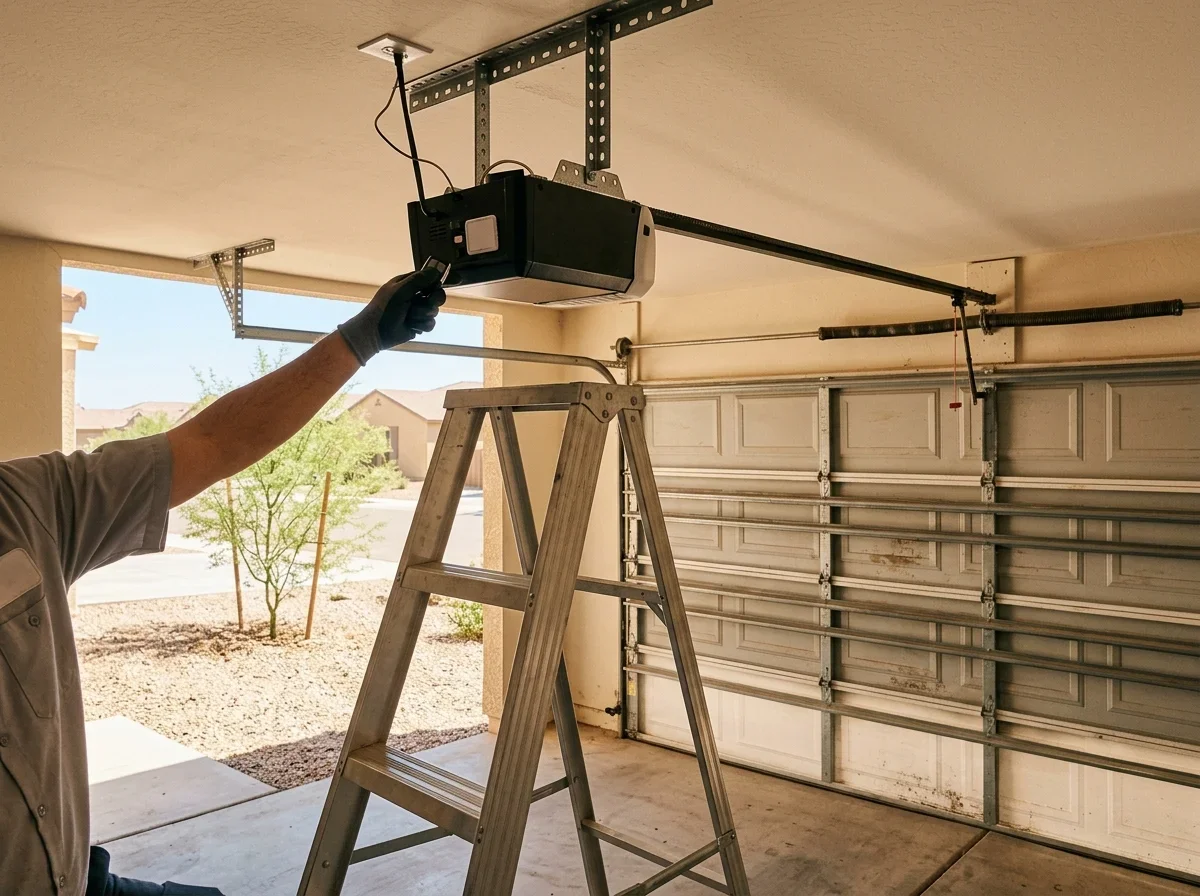
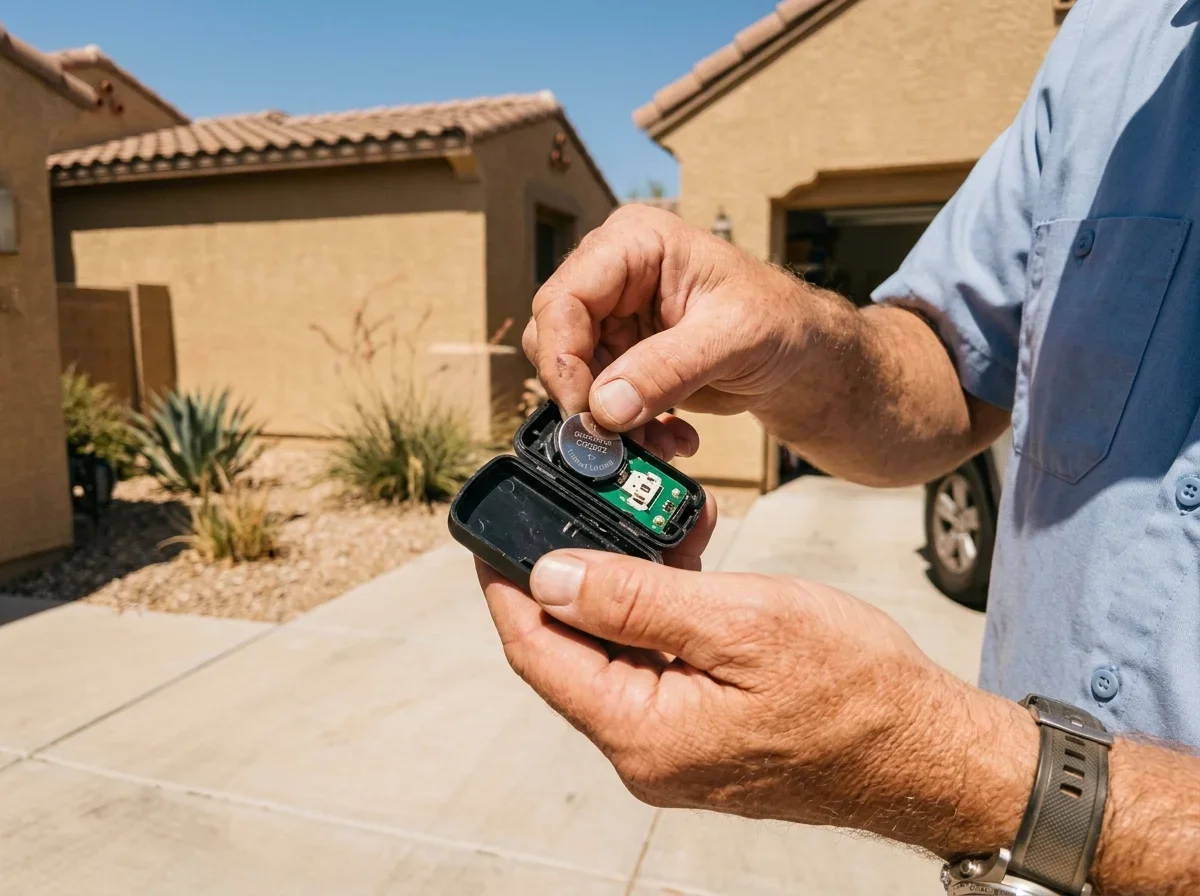
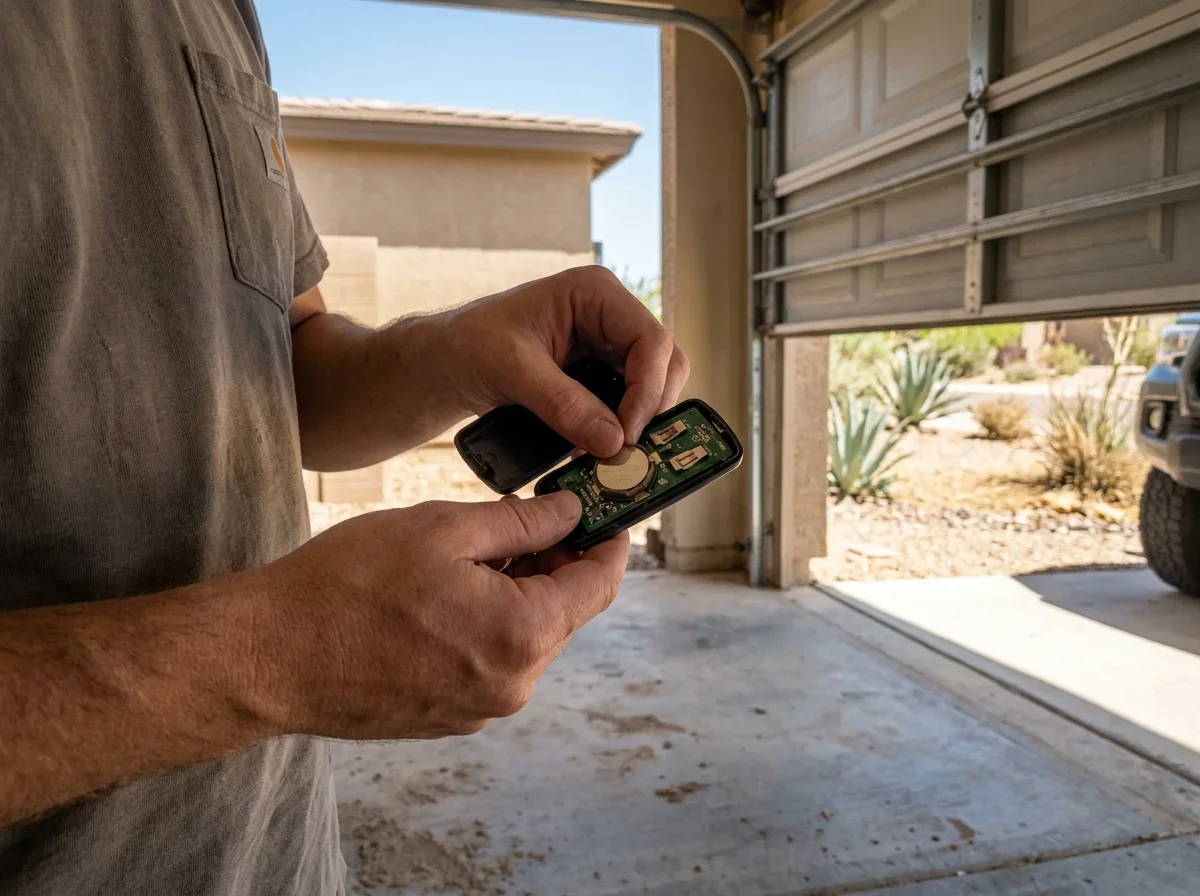
Put in a fresh battery before anything else (see replacing remote batteries and fixing range).
| Opener generation or style | Learn button location | Typical indicator or color | Pairing note |
|---|---|---|---|
| Older dip-switch openers | No learn button; a row of small switches in the remote and the receiver | Switch positions, not a color | Remote and receiver switch patterns must match. Check the manual. |
| Newer learn-button openers | On the motor head, often on the back or under the light cover[2][3] | Color or shape varies by brand and generation[2] | Press and release, then press the remote button. |
| Newer smart/Wi-Fi openers | Same motor-head learn button as other current models[1] | Varies by model; see the manual | Remotes and keypads pair through the learn button. |
| Keypad-only models | Learn button on the opener, not the keypad | Varies by brand | Enter the PIN within the learn window.[4] |
Color meanings vary by brand, and your opener's manual is the final word.
Programming a Remote on a Garage Door Opener
Find the learn button first. On many openers it sits on the back of the motor head or under the light cover, and it can be hidden near the antenna wire.[3]
- Press and release the learn button. Don't hold it.
- Within the time window in your manual, press the button you want on the remote.[3]
- Watch for the opener light to flash or a click from the motor.
- Test from inside the garage, then from the driveway.
Each button on a 4-button remote pairs separately, so repeat the steps for every button. The same goes for extra remotes.
Step by step
Pairing a remote
Press learn
Press and release the learn button. Don't hold it.
Press the remote
Within the time window in your manual, press the button you want.
Watch for a sign
The opener light flashes or the motor clicks.
Test
Try it from inside the garage, then from the driveway.
Erasing all remotes
Holding the learn button for the longer period in your manual clears every stored remote and keypad.[1][5] That is useful after a lost remote or after buying a resale home.
Afterward, re-pair every current remote, keypad, and vehicle. See how to reset a garage door opener for more.
Programming a Garage Door Keypad
A wireless keypad pairs much like a remote, but the clock matters more. Enter learn mode on the opener, then enter your PIN and press the confirmation key within the window.
Genie's learn mode times out after 30 seconds.[4]
The confirmation key differs by model. Some keypads use ENTER and others use #, so check your manual. Genie's universal keypad chart uses a 3-to-8-digit PIN, and warns that holding the learn button too long can disable remotes you already programmed.[5]
Pro tip
Press the learn button briefly. Holding it too long can erase remotes you already programmed.
Skip obvious PINs like 1234 or your street number. Car-integrated buttons such as HomeLink follow a separate procedure in your vehicle manual.
Choosing a Compatible Replacement Garage Door Remote
A remote that lights up isn't necessarily compatible. The remote must match your opener's security technology and frequency.[2]
Check these before you buy:
- Opener brand and model number from the motor label
- Learn-button color and location
- Remote technology and frequency
- OEM or universal
- Form factor: visor, keychain, or keypad
Then confirm against the manufacturer's compatibility chart, not the packaging photo.[2]
Checklist
Before buying a replacement remote
0 of 5 ticked
Tick them off as you go. Nothing is saved or sent.
Why a remote won't pair
- Weak battery: replace it first.
- Technology mismatch: a fixed-code remote on a rolling-code opener, or the reverse.
- Frequency mismatch between remote and receiver.
- Timeout: the learn window ended before you pressed the remote.
- An old receiver that current remotes can't talk to.
When it's an opener problem
Stop if the learn light never responds, the wall button is dead too, or a compatible remote fails after the correct steps. Then it's a hardware fault, not a pairing problem.
Read garage door opener not working, then see garage door opener repair.
Check any contractor's license at roc.az.gov/contractor-search. IDEA accreditation and the IDA directory are voluntary quality signals, not licenses.
Quick answers
Do I need to press the learn button for every remote?
Yes. Rolling-code openers must be taught each remote, and each button on a 4-button remote pairs separately.
How long do I have to press the remote button?
Use the time window in your manual. Genie's learn mode times out after 30 seconds.
How do I erase all remotes?
Hold the learn button for the longer period in your manual, then re-pair every current remote, keypad, and vehicle.
Related questions
Questions
- LiftMaster. "Wi-Fi® Garage Door Opener Model 8365W Owner’s Manual." https://partner.liftmaster.com/medias/Model-8365W-267-114a5083.pdf. Accessed October 17, 2026.
- The Genie Company. "Universal 2-Button Remote Instructions." https://www.geniecompany.com/_files/ugd/3ef5a4_cdee155b868a4619872adedf57e582af.pdf. Accessed October 17, 2026.
- The Genie Company. "Genie G1T-BX 1-Button Remote Programming Instructions." https://store.geniecompany.com/products/1-button-remote. Accessed October 17, 2026.
- The Genie Company. "Genie Wireless Keypad Programming Instructions." https://store.geniecompany.com/pages/genie-wireless-keypad-programming-instructions. Accessed October 17, 2026.
- The Genie Company. "Universal Keypad Instructions Chart A." https://www.geniecompany.com/_files/ugd/3ef5a4_4813a721d1b6449eb51450091d3664f6.pdf. Accessed October 17, 2026.